
Taylor C713 Maintenance & Disassembly Guide
The Taylor C713 is a high-capacity, twin-twist gravity-fed machine. Relying on gravity rather than pumps makes it simpler to maintain, but adhering to a strict cleaning schedule is required to prevent bacteria growth and product inconsistency.
Preventative Maintenance Checks
- Daily: Wipe down all exterior surfaces. Clean and sanitize dispensing handles. Check mix levels in the upper hoppers.
- Weekly: Perform a complete machine breakdown. Drain all product and flush the freezing cylinders with warm water.
- Reassembly: Inspect all O-rings and thoroughly lubricate with food-grade lubricant before reinstalling to prevent friction tearing.
Official Parts Replacement Schedule (Table 9-1)
| Part Description | Every 3 Months | Every 6 Months | Annually |
|---|---|---|---|
| Scraper Blade | X | ||
| Drive Shaft Seal | X | ||
| Freezer Door Gasket | X | ||
| Front Bearing | X | ||
| Draw Valve O-Ring | X | ||
| Draw Valve Seal | X | ||
| Prime Plug O-Ring | X | ||
| Mix Feed Tube O-Ring | X | ||
| Design Cap | X |
Cleaning Tools & Consumables
These brushes and molded parts aren't on a fixed calendar cycle — inspect them at every full breakdown and replace as soon as bristles fray or components crack, at minimum once a year.
| Item | Replacement Guidance |
|---|---|
| White Bristle Brush, 3" x 7" | Inspect and replace if necessary (annually, at minimum). |
| White Bristle Brush, 1" x 2" | Inspect and replace if necessary (annually, at minimum). |
| Black Bristle Brush, 1" x 2" | Inspect and replace if necessary (annually, at minimum). |
| Double-Ended Brush | Inspect and replace if necessary (annually, at minimum). |
| Baffle-Threadless Molded | Inspect and replace if necessary. |
Step-by-Step Disassembly
-
Drain Product & Flush Cylinders
Prevents freezing during cleaning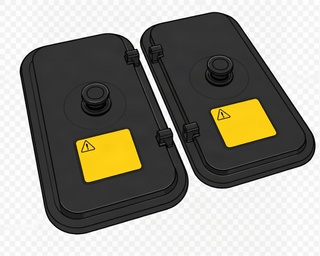
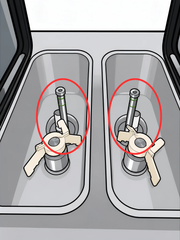
To properly drain product from the freezing cylinder, follow these steps:
- Remove the hopper cover and the feed tube. Take them to the sink for cleaning.
- With a pail beneath the door spouts, touch the WASH symbol and open the draw valve.
- If local health codes permit the use of rerun, place a sanitized, NSF-approved stainless steel rerun container beneath the door spout. Press the WASH key and open the draw valve. Drain the remaining product from the freezing cylinder and mix hopper. When the flow of product stops, press the WASH key and close the draw valve. Place the sanitized lid on the rerun container and place it in the walk-in cooler.
- Repeat steps 1 through 3 for the other side of the freezer.
Note: If local health codes do not permit the use of rerun, the product must be discarded. Follow the instructions in the previous step, except drain the product into a pail and properly discard the mix.
-
Disconnect Power
Critical safety step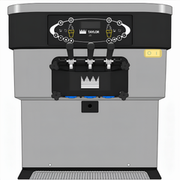
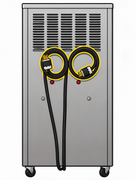
Press STOP and turn off the main power switch before placing hands near moving parts.
-
Remove Feed Tubes & Front Door
Requires both hands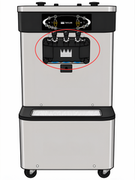
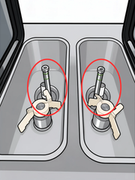
Remove the gravity feed tubes from the hoppers. Unscrew the four handscrews and pull the front door straight out.
-
Extract Beaters & Disassemble Door
Keep parts separatedPull beaters out. Remove the pivot pin from the door, pull out handles, and push draw valves out to access O-rings.